How to Teleprompter
A prompter will NOT help you deliver material you are not familiar with. It is NOT a tool for overcoming a lack of preparation.
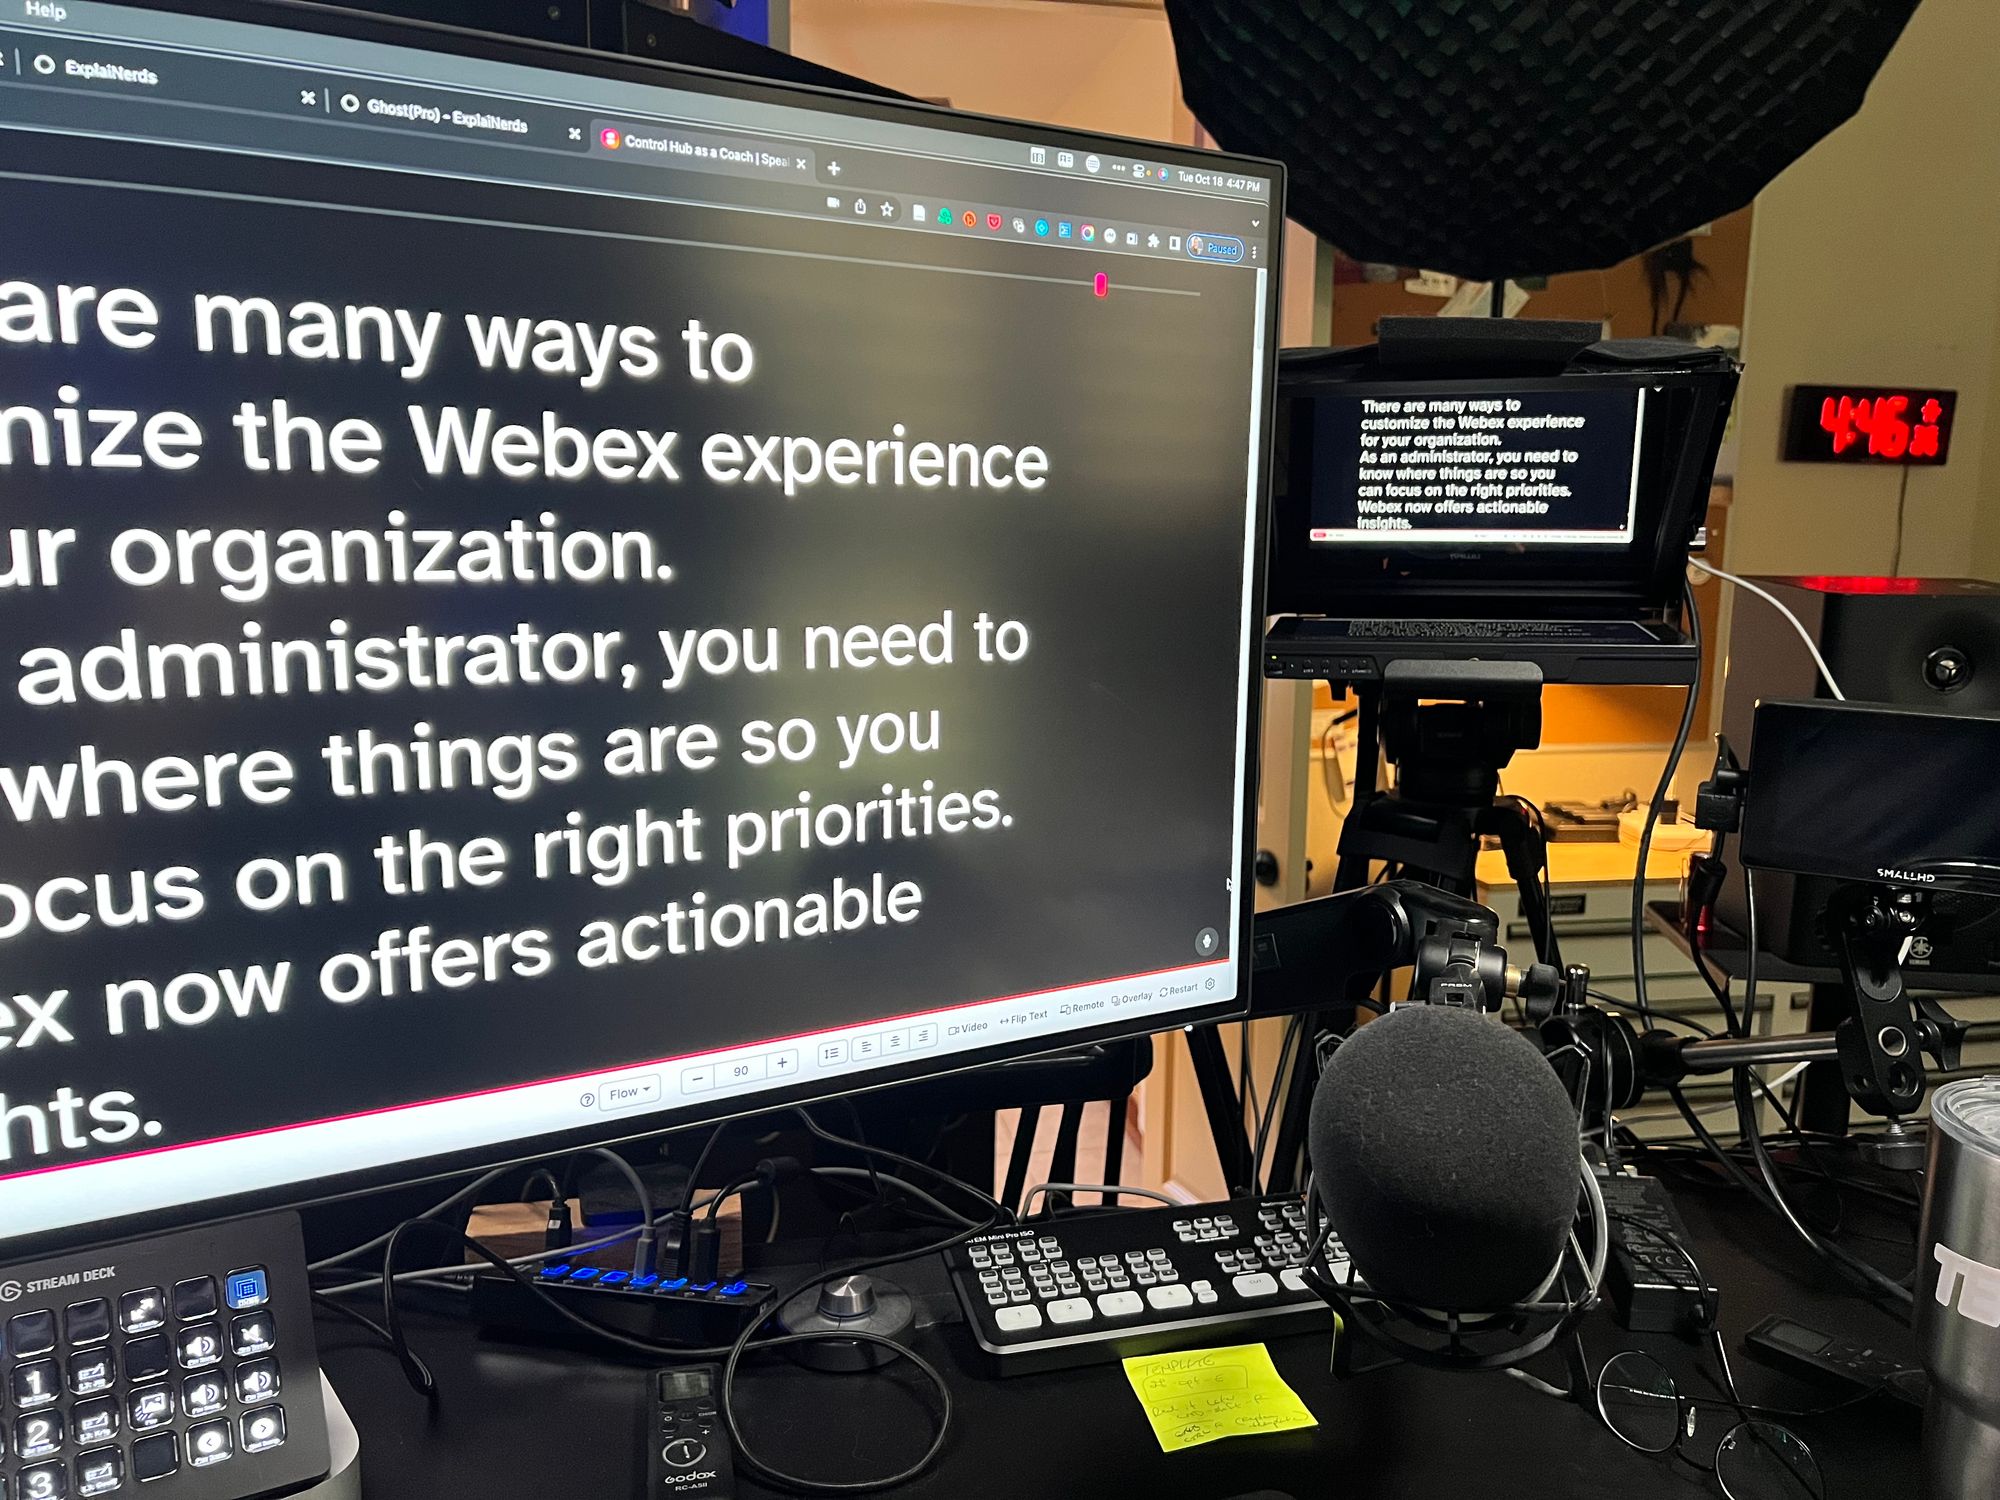
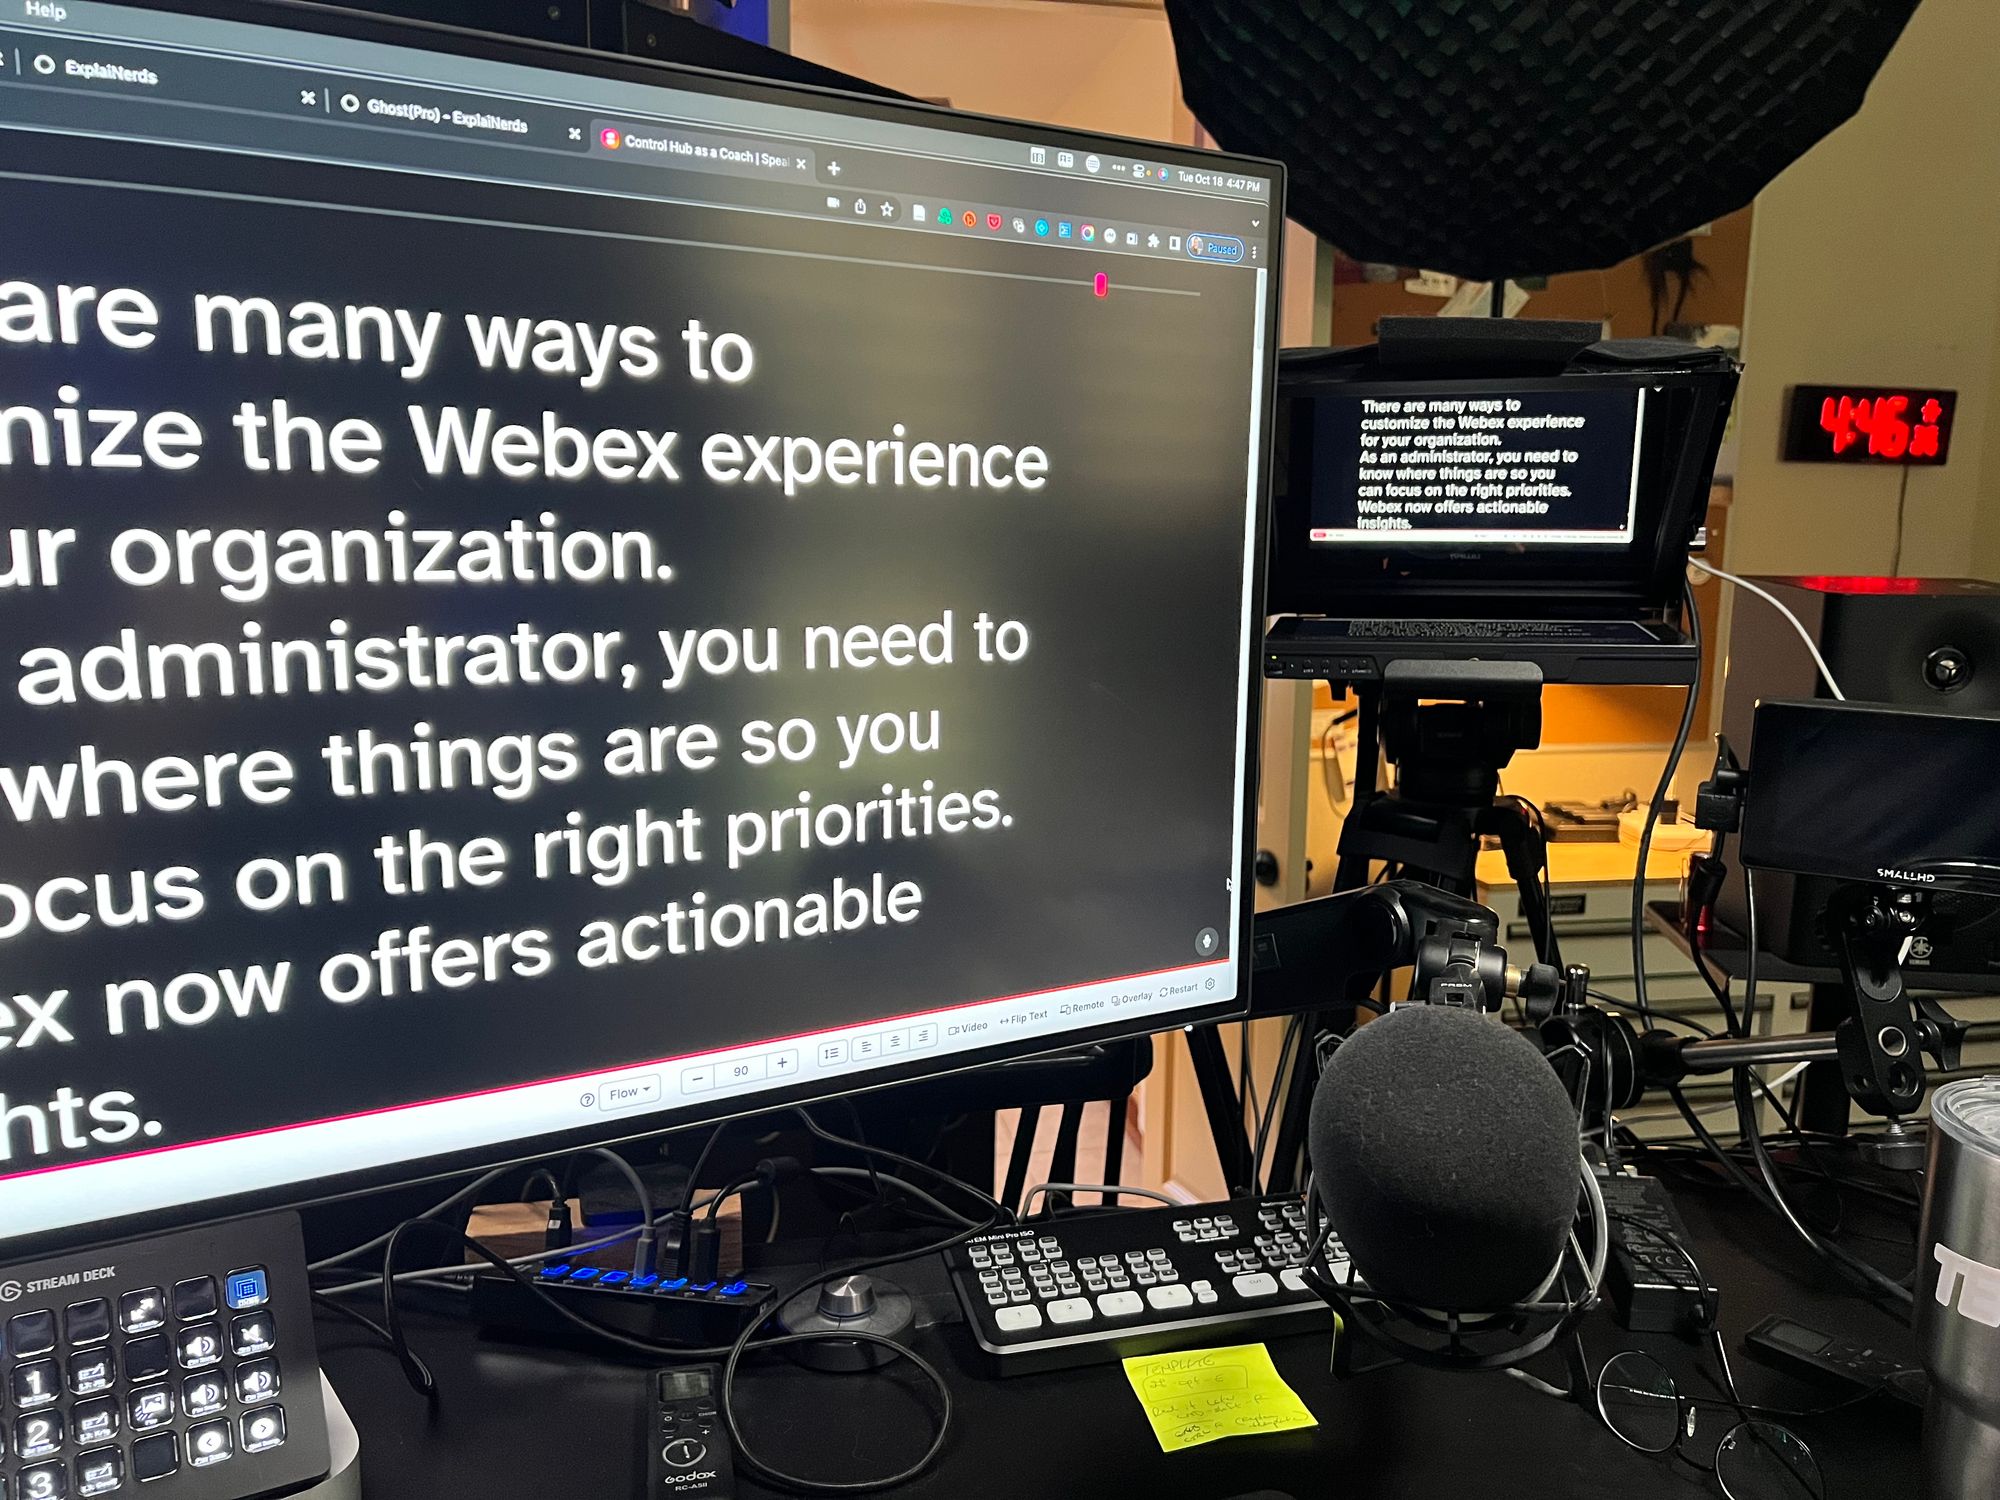
Delivering a solid on-camera performance can be much easier with a teleprompter…but it can also be a trap.
I use a prompter in my home studio/office for two reasons:
- Eye contact in Webex or other remote meetings.
- Scripted delivery of important content.
From my interactions, most people consider a prompter for this second reason only. A prompter can be a great tool, but like most tools, there are downsides. The biggest one being that it’s easy to look and sound like you are using one….which defeats the purpose.
Easy to misuse
I use a prompter for any content that needs to be precise and concise. I am generally scripting to a specific word count. My style of writing is generally an over-writing of sorts that I have to pare back. If I need to deliver in specific amount of time, word count is my guiding metric as I try to reduce the number of words used to say what I want to say. The goal is always to be understood…but without rambling or losing the point. I want to sound natural, but in a precise, short amount of time. Given enough time, I can happily cover most content without preparation.
The over-arching thing to consider is WHY.
A prompter will NOT help you deliver material you are not familiar with. It is NOT a tool for overcoming a lack of preparation.
I witnessed this mistake repeatedly as I worked with executives and product managers this past week, pre-taping breakout room content for WebexOne. The best presenters would come in and struggle to get comfortable in front of the crew while they were reading their script from a distance…for what was often the very first time.
If you want to get the most out of this took, there are two important areas that must be covered: writing and rehearsal.
Writing for the prompter
Any content delivered verbally should be written with that voice in mind. Your speaking voice and style is going to be different than your writing style. The minimum step everyone should be taking, (for any presentation): read out loud. This should be done during the draft/rewrite process as it can be great for making sure things are flowing. It’s amazing what hearing it out loud can do.
You can do this alone, or for bonus points, read it to someone else to get their feedback. (I prefer doing this in later drafts as I dread someone catching my early/simple mistakes). Recording yourself can be very helpful as well. Everyone hates how they sound...but if that’s you…get over it. It’s fantastic for figuring out what is not working.
Reading and listening to your rehearsal drafts should be done multiple times as you look to answer the following things (not exhaustive…what would you add to this list?)
- Do you sound like yourself?
- Are comfortable pronouncing all the words and phrases?
– Or do they get mangled in your mouth? - Can you feel a rhythm in your words?
– Great delivery should have some dynamics to it. – You want to punch the important things…which presumes you know what is important. - Do you have pauses and places that allow the audience to reflect on what they are hearing?
– Knowing what visuals will appear as things are said can be important for pre-recorded delivery. This allows you to know where you can re-start a delivery at pick up points that will hide the edit behind the visual. - Props and interaction practice is important here too
– Make sure you know when you will write on something, change a slide, ask for feedback, etc. – If you are practicing for audience interaction, make sure you know where that will happen and how you will respond and/or get back on prompter.
– Coming on and off a prompter is great for avoiding the stiff prompter style delivery…as long as you can do it smoothly. (You may need to coordinate marks on the script with the person who will run it for you).
The writing will look different
There were times when I would have to run my pre-written script past faceless brand managers who would often tear me apart on punctuation. I would consider their notes because that is part of the job, but it was often a lot of over-eager English major-type marks fussing about punctuation…that can be silly for a verbal delivery.
- I use a lot of ellipses to indicate trailing thought. Those three dots are my signal that I am alluding to something…because I am…and I will speak to that differently.
- I will also capitalize words I want to hit differently or to help me deliver the rhythm I want.
- I like to leave timing clues for what I might need to do physically in the script, like changing a slide, writing something out or making a certain motion that is important to recall when delivering.
Write for the way you speak and make sure you have confirmed that by rehearsing it out loud. All of the questions about your delivery and the mistakes that will always be made should be corrected BEFORE you show up to record with a crew. There is so much time wasted as everyone is ready but the presenter is still practicing and making changes. You see, the best place to learn is in your rehearsal….wait, what rehearsal, you say?
Rehearse for the prompter
Writing and rehearsing are best thought of as part of a circular workflow. The rehearsal will inform issues with a delivery that should be corrected in the script and then rehearsed again. This is normal and encouraged. You will always have changes to make at this point, but you want to push yourself to practice your delivery at the pace at which you would present it. Don’t be afraid to show the full emotion you want to deliver as you do this…that is the only way you can tell if the content makes sense. Practicing at your normal volume will feel strange in your home or office. But it also feels funny to do it in front of a quiet crew in studio.
It’s a different topic, but you need to be ‘big’ (which is not just loud) to make sure your personality translates through the dull, soul sucking reality that is video delivery. You are striving for as much realism you can create. This way, when you record, it’s not new…it’s déjà vu.
No prompter required for rehearsal
You don’t need to buy anything if you simply want to prepare for an upcoming presentation that will use somebody else’s gear. It ‘might’ be good to get prompting software (recommendations below) to do this but you don’t have to. You can take your script and blow it up big in Microsoft Word, stand (if that is how you will present), and follow your script (using a wireless mouse) about 10 to 15 feet from the screen. This alone will do wonders for your script rewrite and your comfort level.
Many of you are reading this because you want to up your communication game. Adding a prompter to your other collection of presentation gear can be very nice indeed.
Teleprompter components
A prompter projects a speaker's script onto a transparent panel in front of a camera lens in such a way that the text remains hidden from the camera. This means that you will not be able to do this without using an external camera, as this won’t work with a built-in laptop camera or dedicated video device (like a Webex device). No time to get into the camera and lighting stuff in this blog, but understand that it’s cheaper and easier to do than ever before…and can make a huge quality difference.
Four required components
There are four components required for doing your own prompter setup. There are more expensive options with bigger monitors and other features often used by professional crews. My examples here are targeting the individual creator using this for their own work…although these can be used on many jobs if you are a freelancer.
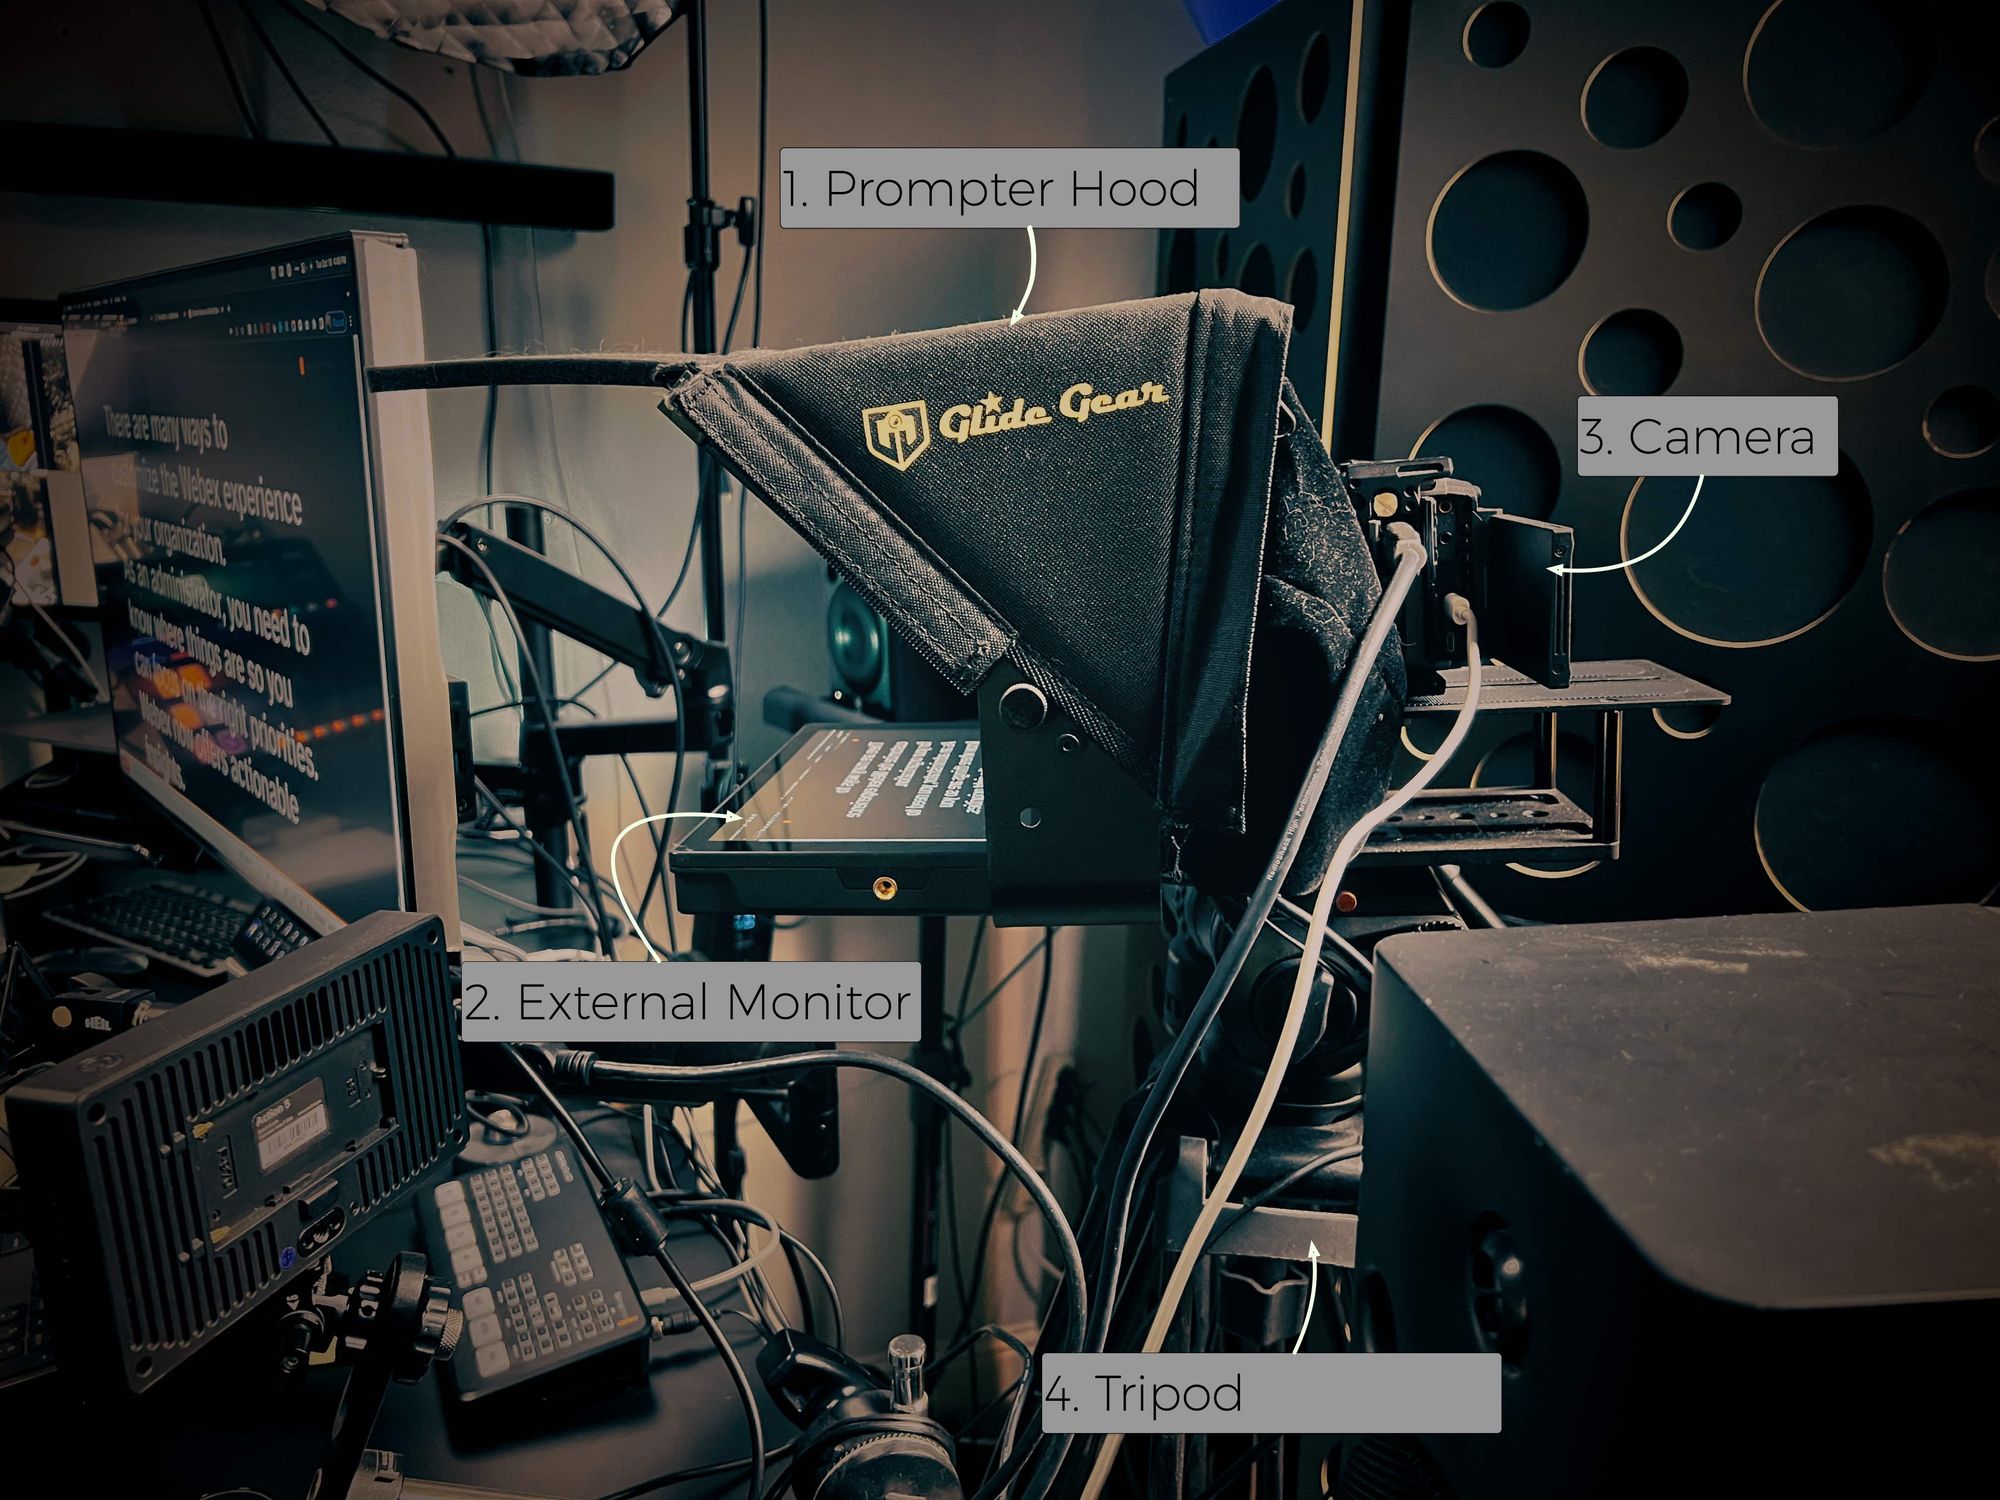
- ONE: Prompter Hood Mount
– This hardware holds a display device flat, facing up toward an angled mirror. There is a black hood over the top and sides so that a camera can shoot through the angled glass without reflections. The angled glass becomes a mirror reflecting the External Monitor (next item) which must present the text (or anything) already mirrored so that it is readable to you as you look through it to the camera. – I use a Glide Gear TMP100. – This mentions that it works with your iPad and that is great, but my preference is to use what is called a field monitor. - TWO: External Monitor
– This component is how you will display your script. I use a field monitor because they are inexpensive and they can reverse their image in the right way that I can actually use this as if it were a normal 2nd monitor for my computer. By using a regular monitor like this, I can drag a Webex window over to this monitor and use it to maintain eye contact with others…no special software required.
By using a regular monitor like this, I can drag a Webex window over to this monitor and use it to maintain eye contact with others…no special software required.
- I use aLILLIPUT A11 10.1" 4K Camera Monitor
- THREE: Camera
– No room here to detail camera options. I just want to remind you that I am talking about a form of prompting that requires an external camera. (I say this because you will look so much better than anything currently built into your computer). - FOUR: Tripod
– All three items we already covered will need to be on a tripod that extends to the floor. You need a sturdy foundation to aim and hold more load than just a camera by itself. Tripods are generally composed of two components sold as one at the lower price points we are dealing with: a head and the legs. These things can get expensive as pro users need a head that can pan and tilt smoothly while shooting. You are going to be locking it in place however so there are many more options as it just needs to reach the ground and hold the load. You will want this on the floor most often as you don’t want any motion on your desk perhaps that will shake the image while presenting. – I use a Sacthler system with an FSB-6 head that I got over 15 years ago…it remains my primary as it is smooth and reliable. For a cheaper option, something like thisNeewer Heavy Duty has worked well. The head is wonky but I don’t do any movements with it.
Prompting Software
The fifth component here is optional. You don’t really have to have prompter software but there are benefits. By not using a normal external monitor as I talk about above, you don’t need software to reverse the image for you…the monitor can do it for you. Which again, is fantastic for throwing up your Webex/Zoom/Teams or whatever on there so you can look people in the eye without even thinking about it.
Good prompter software allows you to color code notes, alter the text size to your liking and my favorite feature for often being a one-man show, is the ability to listen to you and auto-scroll content as you speak…no prompter operator required.
In the San Jose studios we setup for Webex One recording, we used Presentation Prompter. We had a production assistant who would take text files on a USB stick from each presenter as they arrived and then scroll it for them as they spoke. It does not do voice tracking but works better for manually prompting using an operator, and it’s not dependent on an active internet connection which you don’t want to fall prey to on a remote shoot.
I have been through a number of options over time and I have currently settled on SpeakFlow. Corey, the creator of this chrome based web-tool reached out to me when I started with it. Great guy, always working to make it better. SpeakFlow will listen and follow you as you speak. It’s nice not having to work with installed software since I am ALWAYS online. He has some good basics on his blog too for this area you might want to check out.
The use of a teleprompter requires work. It will not magically make up for your lack of preparation.
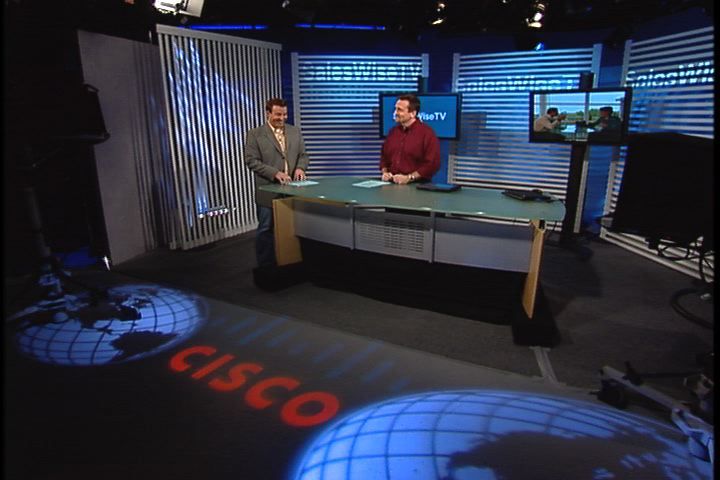
When I was first learning how to create video content that I would present myself, I had to learn quickly. I was working on episode 1 of TechWiseTV in 2006 and scared out of my mind. I was the content producer and subject matter expert, but we had a professional host for the first year or so since we didn’t know what we were doing. Jonas Tichenor was fantastic to learn from. He had high energy delivery and nothing could throw him off. As I watched him, I got jealous and wanted to deliver as well as he did. One of the biggest things I remember him working with me on was raising the energy of my delivery (high energy without increasing my volume…they are different). We had one prompter on his camera (Cam 3), but it was also mirrored on one or two lowboys (floor monitors) that could be referenced without having to look at a camera. Being able to deliver on and off of the prompter and not break conversation rhythm is hard to do…he was excellent…I got a little better over time.
I learned the importance of writing for the prompter early on as I liked to follow side trails of thought that hit me during delivery…and this would confuse the prompter operator. If I did that during a live show, I had to endure mad scrolling in the script as the operator tried to figure out where I was. I have since learned to write for the ad hoc stuff…I.e. leave space for it. Most shows we only used the prompter at the edges of the show, the opens and closes that had specific information that needed to match graphics and such.
In a nutshell, write and rehearse for the delivery you will be giving. Good writing should always be part of your presentation arsenal. It’s a bit different for the prompter and a little practice will go a long way. Experience through repetition is ultimately the best way to learn. If you are just getting started or have something specific coming up, these tips should serve you well.
And as always, let me know if I can help you.

